
Built‑in vs custom policies
Azure provides a large library of built‑in policies that cover common governance needs, and a flexible custom policy model for requirements that aren’t met out of the box. This section compares both approaches, shows typical examples, and gives practical guidance on when to reuse, extend, or author your own definitions.
Built‑in policies
Built‑in policies are maintained by Microsoft and ready to assign. They cover frequent controls like Allowed locations, Require tags and tag values, Allowed virtual machine SKUs, Enforce encryption on storage accounts, and Require diagnostic settings. Use built‑ins for fast adoption, predictable behavior, and regular updates, they’re a great starting point for baseline governance.
Custom policies
Custom policies are JSON definitions you author when your requirements are unique (naming conventions, company‑specific tag rules, property‑level constraints, or complex conditions across resources). Create custom policies when built‑ins don’t express the required logic or when you need tailored error messages, parameters, or remediation actions that align with internal processes.
When to choose built‑in vs custom ?
Prefer built‑in policies when they match your need exactly, lower maintenance and faster rollout. Choose custom when:
- The control is specific to your organization or workflow.
- You need property‑level checks that built‑ins don’t support.
- You require custom remediation (DeployIfNotExists with a specific ARM template) or bespoke messages. A hybrid approach is common: use built‑ins for standard controls and custom policies for gaps.
Typical use cases
These scenarios are high‑value because they reduce cost, improve security, and make operations predictable. For each use case below I explain why it matters and which policy effects are commonly used.
Tagging
Tags are essential for cost allocation, automation, and operational ownership. Start by using Audit to discover missing or inconsistent tags, then progressively enforce required keys with Deny for new resources or use Append/Modify to automatically add standard tags on create/update. For existing resources, use remediation tasks or scripted backfills to populate tags, and parameterize tag names and allowed values so the same policy can be reused across scopes. Keep tag rules pragmatic at first to avoid blocking legitimate deployments, and document exceptions or exemptions to preserve accountability.
Allowed locations
Restricting allowed locations enforces data residency, compliance boundaries, and predictable latency and cost profiles. Use the built‑in Allowed locations policy with a parameterized list per scope and begin in Audit to understand current deployments before moving to Deny for enforcement. Apply location policies at management group or subscription level for broad coverage. Remember to consider regional differences in service availability and resource group/subscription targeting when choosing the policy mode.
Allowed VM SKUs
Controlling VM SKUs helps manage compute cost and ensures consistent performance classes across teams. Use the built‑in Allowed virtual machine SKUs policy or a custom allowedSkus list to restrict sizes. Start with Audit and move to Deny for new deployments once approved lists are validated. Be mindful of regional SKU availability and the fact that policy won’t automatically resize existing VMs, remediation requires operational workflows or automation runbooks.
Security controls
Enforcing security baseline controls reduces attack surface and improves incident response readiness. Use Audit/AuditIfNotExists to discover gaps, DeployIfNotExists to auto‑deploy diagnostics, logging, or monitoring components, and Deny for non‑negotiable settings (for example, blocking storage accounts without secure transfer). Many remediation effects require a managed identity and appropriate permissions, so plan least‑privilege access and test in a sandbox first. Leverage established frameworks like the Microsoft cloud security benchmark as a starting point, and combine policy with RBAC and resource locks for defense‑in‑depth.
Recommended starter initiative
My recommendation is to bundle a small set of basic policies into an initiative and assign it at the highest organizational scope (management group / root) to provide broad guardrails quickly. A practical starter set includes allowed locations, require a tag on resource groups, inherit a tag from the resource group if missing (Append/Modify), prevent network interfaces from having public IPs, and restrict allowed resource types.
In addition, enable one or two Microsoft built‑in initiatives in Audit mode to get an initial inventory and prioritization. Microsoft Cloud Security Benchmark and CIS Microsoft Azure Foundations Benchmark v2.0.0 are excellent choices. If you operate under regulatory regimes, evaluate built‑in sets such as HITRUST/HIPAA or SWIFT CSP‑CSCF v2022 as starting points.
Quick hands‑on
Below is a concise, practical walkthrough to create a simple policy in the Azure Portal that requires a specific tag (for example “costCenter”) on the resource group.
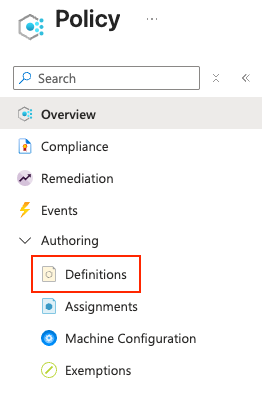
- Open the Azure Portal and go to Policy.

- In the left menu choose Definitions.

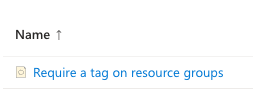
- Search for Require a tag on resource groups (category: Tags).

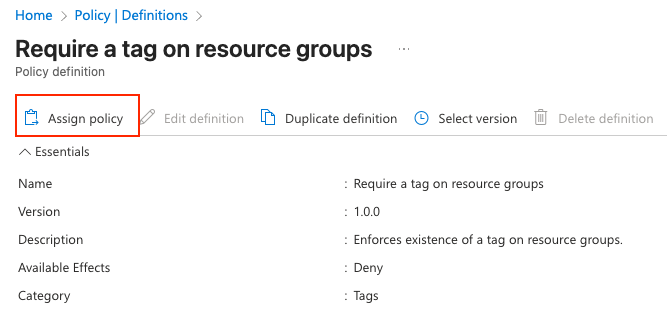
- Select Require a tag on resource groups

- Choose Assign policy

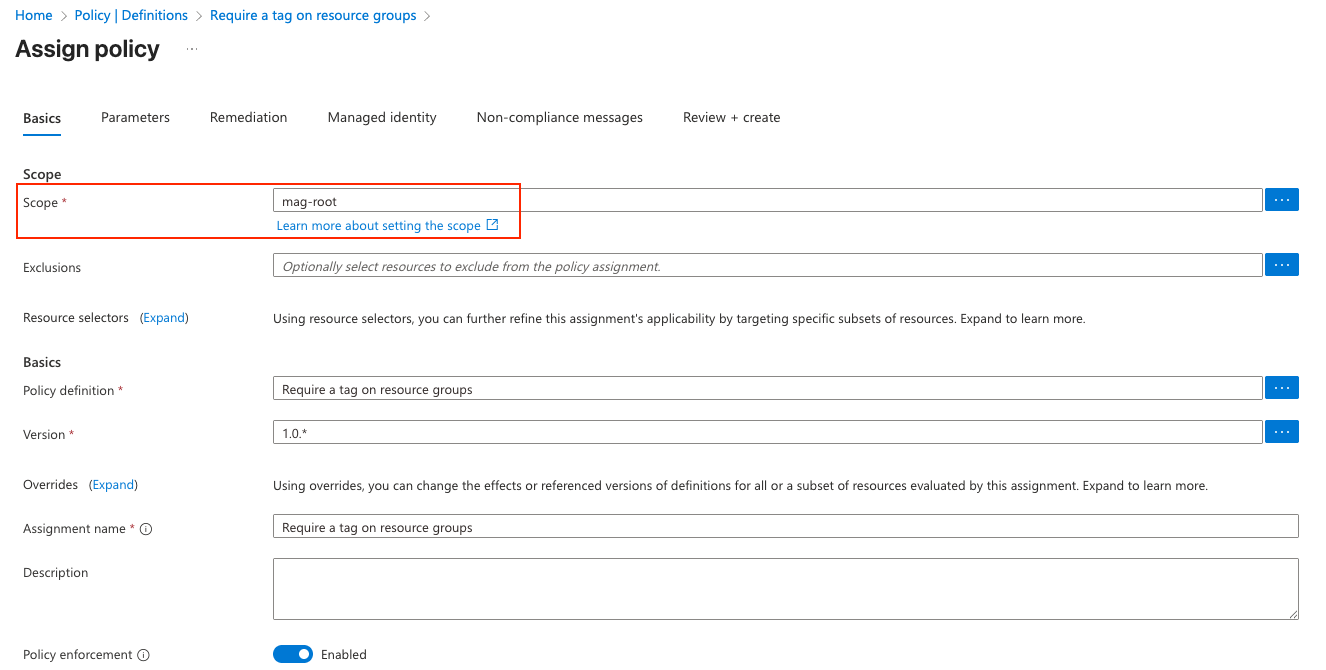
- Set the Scope (management group, subscription, or resource group). For testing, use a dev subscription or a test resource group.

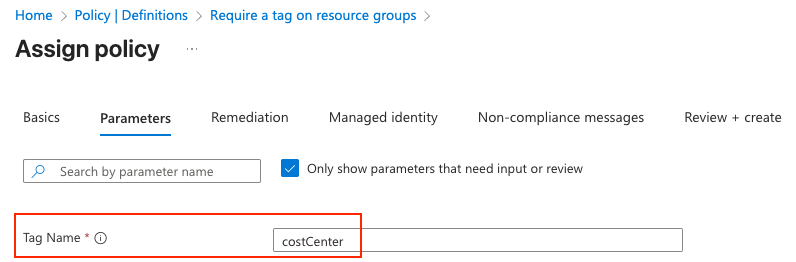
- Under Parameters set:
- tagName: e.g., costCenter

- tagName: e.g., costCenter
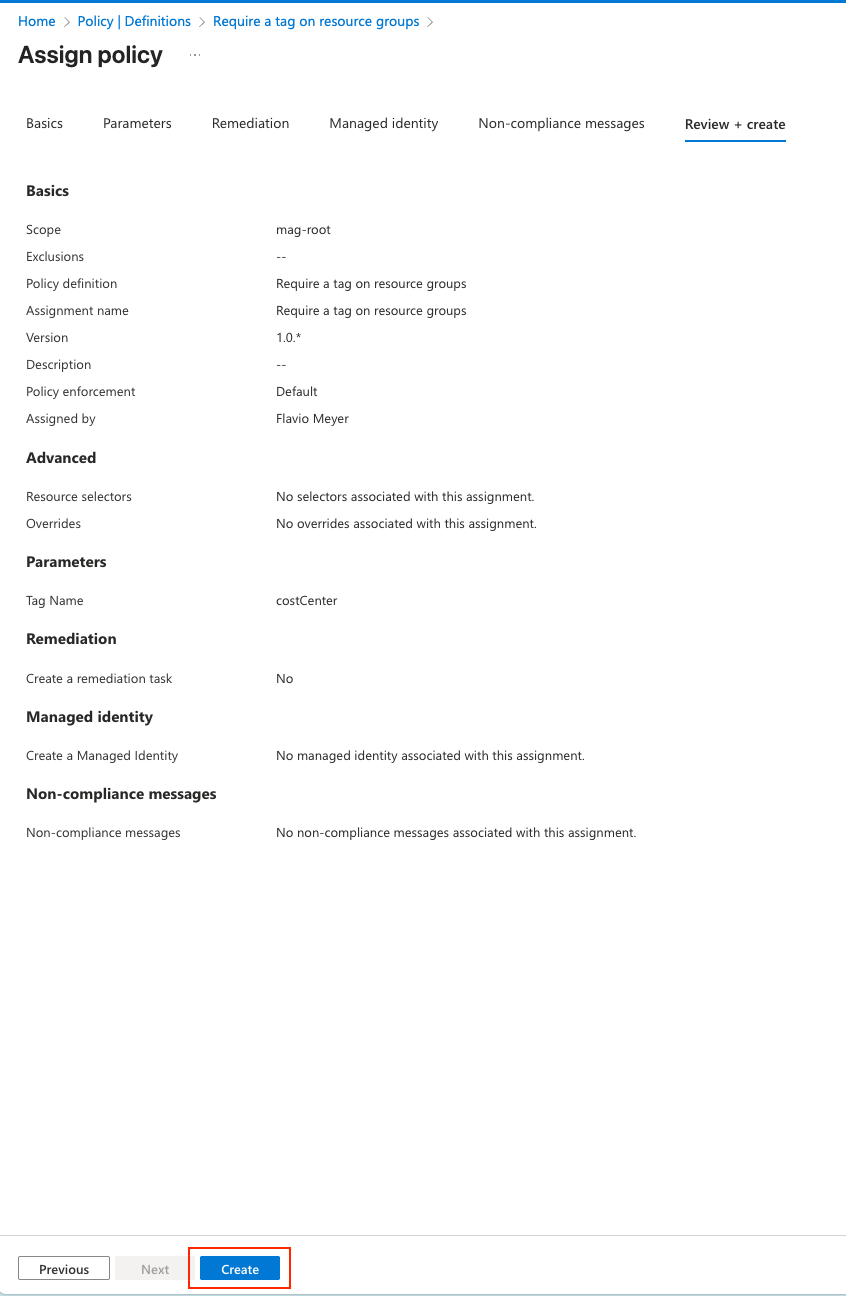
- Add optional assignment name/description and press Create to assign.

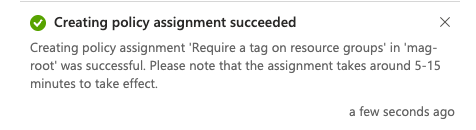
- Confirmation and propagation takes around 5-15 minutes to take effect.


Validate Azure Policy example
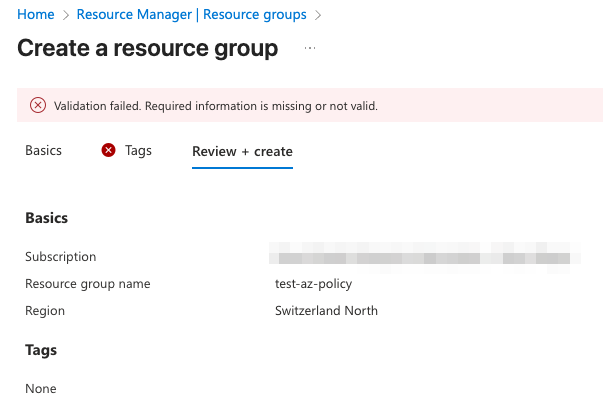
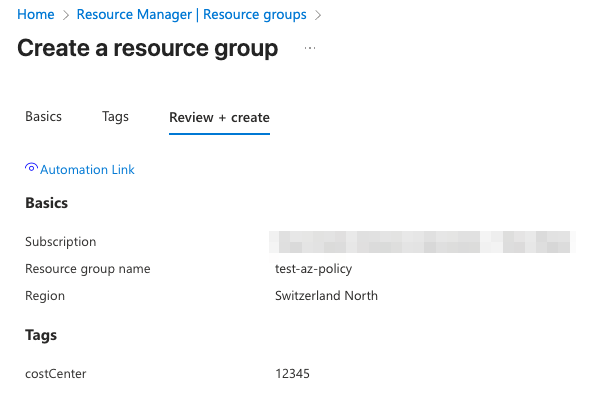
After allowing a few minutes for the assignment to propagate, test the policy by attempting to create a resource group without the required costCenter tag. During the Review + create step the portal performs validation and will display a failure message.
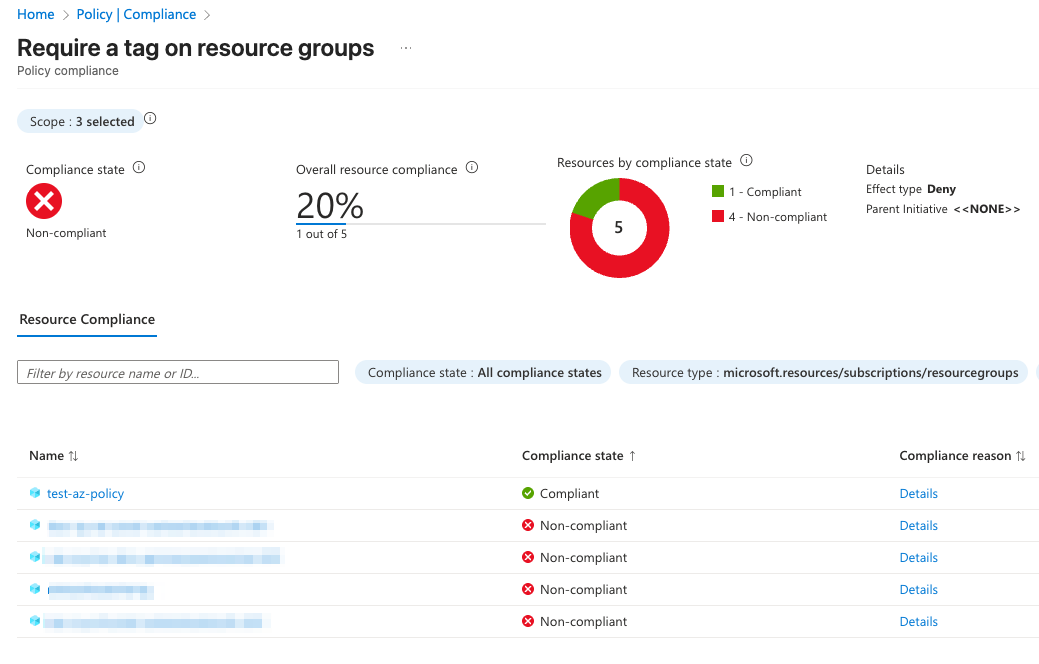
If you create the resource group and include the costCenter tag (for example costCenter=12345), the portal will allow the deployment and after the evaluation window (typically a few minutes), the resource group will be reported as compliant in Policy > Compliance. You can also verify the tag directly in the resource group’s Tags pane to confirm the expected configuration.
Up Next: Automation
In the next blog post we’ll focus on automation. Practical examples that move Azure Policy from a manual configuration exercise to an integrated, repeatable part of your DevOps workflow. I’ll show how to treat policies as code, validate them in pull requests and deploy assignments automatically from a pipeline. You’ll see real examples using Azure DevOps, creating policy definition artifacts, running policy validation in CI, assigning initiatives at scale, and triggering remediation tasks (DeployIfNotExists / Modify) with managed identities. We’ll also cover complementary automation tools and patterns.
Sources